|
|
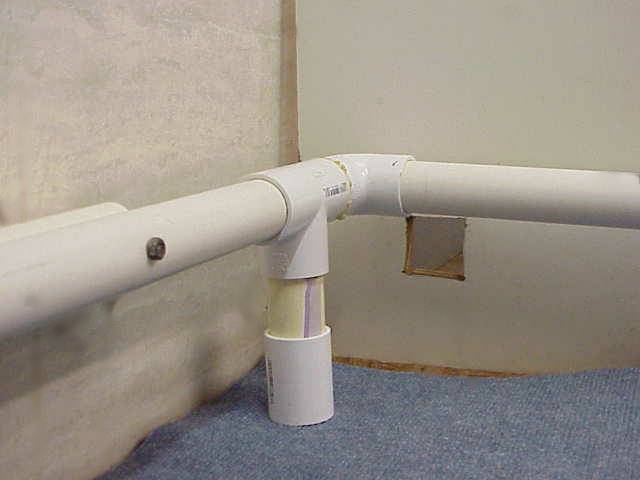
This is how we put the corners together. The hole is where we used to put a wooden rail for a pig rail. We use all pvc piping, 1 1/4 inch. |
|
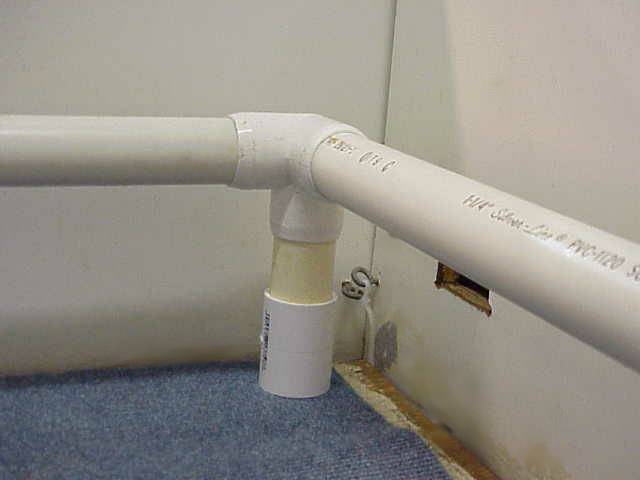
This is another corner which shows how we put the 2 sides of the whelping box together. |
|
| |
|
|
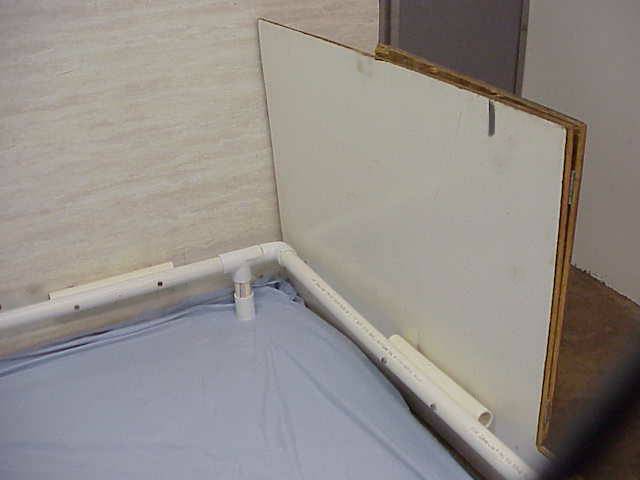
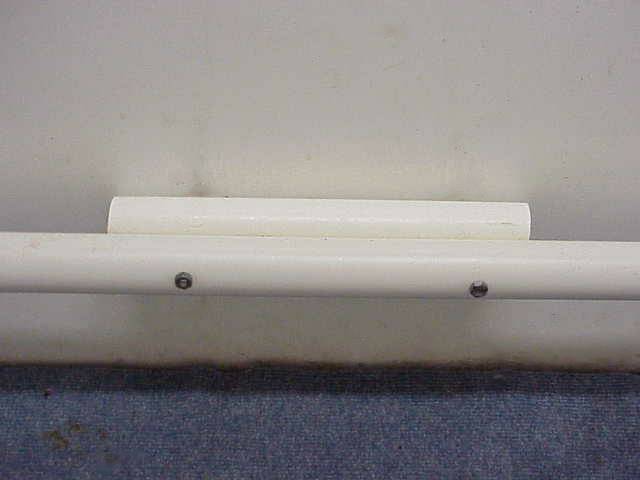
We put a piece of PVC piping in the middle on all 4 sides to keep the rail in place. |
|
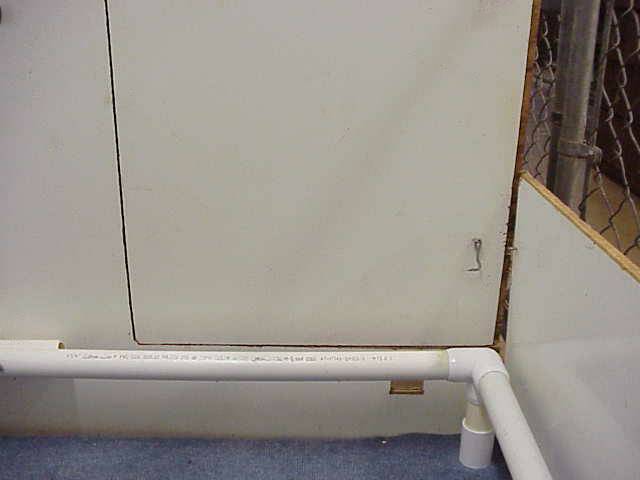 |
We use plywood for the floor and then staple
indoor outdoor carpeting to the plywood. We use heavy duty
staples. This is the gate for the whelping box.
|
 |
We use sheets on top of the indoor outdoor carpeting |
|
|
|
 |
This is a view of the corner with the gate open.
I have a security camera over the whelping box which I can view on my TV at home. Don't know what I ever did without my cameras. I have 15 cameras which also record in time lapse. I love it. |
Visitors since 6/24/06